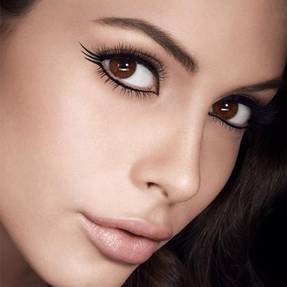
HOW TO PERFECT WINGED EYELINER
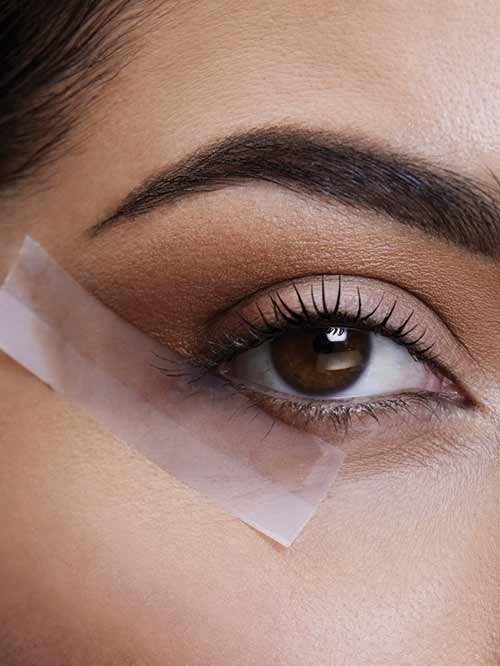
- To achieve a perfect wing, freehand isn’t the answer… what’s needed here is adhesive tape. Create a stencil by angling the tape from your outer eye corner towards your temples (not brows). This creates the most flattering wing. Word of caution: the skin around your eyes is extra sensitive, so stick the tape onto your hands a few times to weaken its adhesive powers.
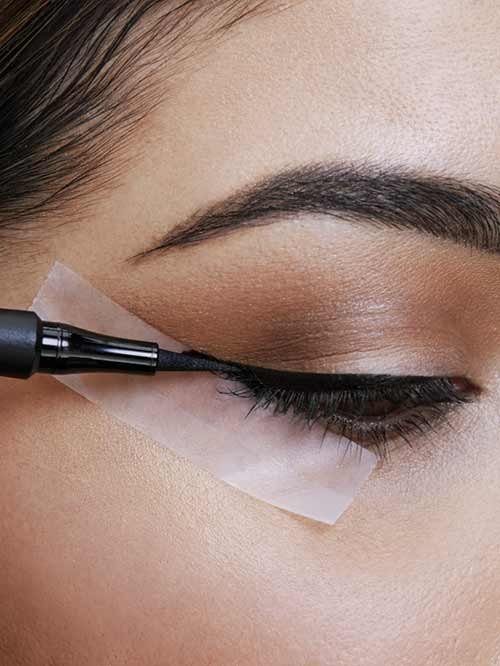
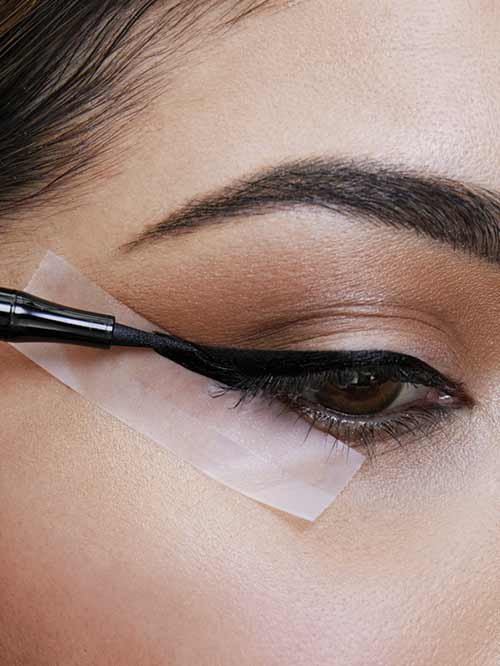
- Start by outlining your upper lash line with Hypersharp Wing Liquid Eyeliner. The fine tip applicator will allow you to better control the thickness and shape of your wing. Gently drag the tip as close to the lashline as possible, starting from the top inner corner of your eye and going out toward the outer corner of your eye.TIP: Keep your eyes slightly open and relaxed as you go – winged eyeliner can sense fear – and steady your elbow on a flat surface.Shop now
- Connect your wing to your lashline in short, steady strokes. The firmer your press, the thicker the line will be. Keep in mind that the thickest point should be the corners of your eyes.
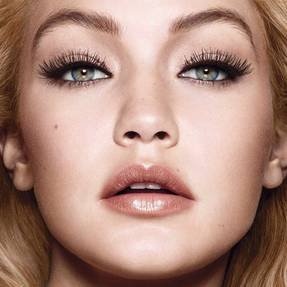
Once done, avoid blinking for 10 to 15 seconds to allow the liner to dry and be sure to compare both eyes to make sure they’re symmetrical. Any slips can be fixed up with a pointed q-tip, but make sure the liner has dried before removing with a wet cotton bud.
All that’s left to do now is slowly remove the adhesive tape. Congratulations, you’ve officially mastered winged eyeliner.